Building your first gaming computer can be an exhilarating journey, especially when it comes to selecting the perfect components. Each part plays a crucial role in determining the overall performance of your system, so it’s important to choose wisely. From the processor to the graphics card, every component needs to work together seamlessly to create an optimal gaming experience.
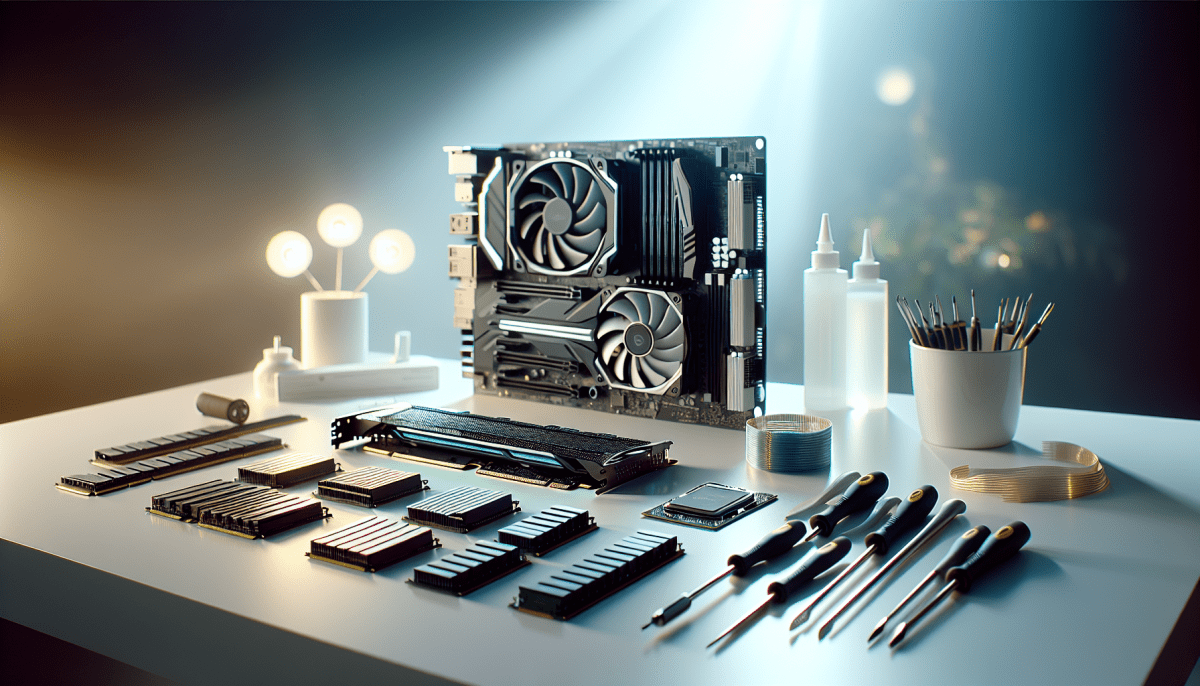
Start with the processor, or CPU, which is the brain of your computer. For a solid entry-level build, consider popular choices like AMD Ryzen or Intel Core processors. These options offer great performance at reasonable prices, making them ideal for your first gaming computer. Pair your CPU with a compatible motherboard that supports its features, ensuring you have the necessary slots and ports for future upgrades.
Next up is your graphics card, or GPU, which is essential for rendering stunning visuals in your games. Look for a GPU that fits your budget, while still delivering excellent frame rates. Brands like NVIDIA and AMD provide a range of graphics cards, so you can find one that suits your needs and performance expectations. Remember, investing in a quality GPU will significantly enhance your gaming experience on your first gaming computer.
Finally, don’t forget about RAM and storage. Aim for at least 16GB of RAM to ensure your games run smoothly and multitasking is a breeze. For storage, consider a combination of a solid-state drive (SSD) for speed and a traditional hard drive (HDD) for additional space. This setup will ensure your first gaming computer boots quickly and has ample room for all your favorite games.
Assemble Your Gaming Rig
Assembling your first gaming computer can be an exciting and rewarding experience. It might seem overwhelming at first, but with the right guidance, you can put together a powerful machine that will elevate your gaming experience. Start by clearing a workspace and gathering your tools, which typically include a screwdriver and an anti-static wrist strap. Having everything ready will help you avoid any unnecessary interruptions during the build process.
Begin by installing the CPU and RAM onto the motherboard. Carefully align the CPU with the socket, ensuring the notches match up. Gently lower it into place, securing it with the latch. Next, insert the RAM sticks into their slots, pushing down firmly until you hear a click. Once these components are in place, you’re ready to install the motherboard into the case. Line it up with the standoffs and use screws to secure it tightly.
Now it’s time to add the power supply and graphics card. First, insert the power supply into its designated spot in the case, making sure the fan is oriented for optimal airflow. Connect the necessary cables to the motherboard and other components. After that, slide the graphics card into the PCIe slot on the motherboard. It’s crucial to ensure that the card is seated correctly, as this will impact performance.
Finalize your first gaming computer by connecting storage drives and any additional peripherals. Simply attach your hard drive or SSD to the appropriate mounting points within the case and connect the necessary cables. Double-check all connections to ensure everything is snug and secure. With everything assembled, you’re ready to power on and install your favorite games!”
Install the Software
Once you have assembled your first gaming computer, the next crucial step is to install the necessary software. This process is not just about getting your system up and running; it’s about setting the stage for an incredible gaming experience. Let’s dive into the essential software installations you’ll need to elevate your build.
Start by installing the operating system of your choice. Most gamers prefer Windows for its vast gaming library. You can do this by creating a bootable USB drive with the Windows installation media. Simply download the Windows Media Creation Tool, follow the prompts to create your USB drive, and then boot your first gaming computer using the USB. Follow the on-screen instructions to complete the installation.
After you’ve installed the operating system, it's time to set up the drivers. Drivers are essential for the smooth functioning of your gaming components. Go to the manufacturer’s websites for your graphics card, motherboard, and any other peripherals. Download and install the latest drivers to ensure that your hardware runs efficiently, giving your first gaming computer the performance boost it needs.
Now that you have the OS and drivers installed, you can focus on the gaming software. This means downloading your favorite games and any platforms like Steam, Epic Games Store, or Origin. These platforms not only provide you with access to a wide range of games but also manage updates and patches, which are crucial for a seamless gaming experience.
Test Your New Setup
Next, turn on your computer and enter the BIOS/UEFI settings. This is where you can monitor your system’s temperatures and fan speeds. Take a moment to ensure that everything looks good before you proceed to install your operating system. If your computer booted up successfully, you're one step closer to enjoying your first gaming computer!
Once your operating system is installed, it’s time to download the necessary drivers for your hardware. Focus on your graphics card first, as it will significantly impact your gaming performance. After installing the drivers, you can run a few benchmark tests to see how your new rig performs. This is a great way to compare your results and make any necessary tweaks or upgrades.
Finally, don't forget to install the games you’ve been eagerly waiting to play! Launch them and adjust the settings to your liking. Take note of the frame rates and overall performance. If everything runs smoothly, you've officially set up your first gaming computer like a pro. Enjoy your new gaming experience!


